Emergency Plumbing: What to Do with a Leaky Pipe
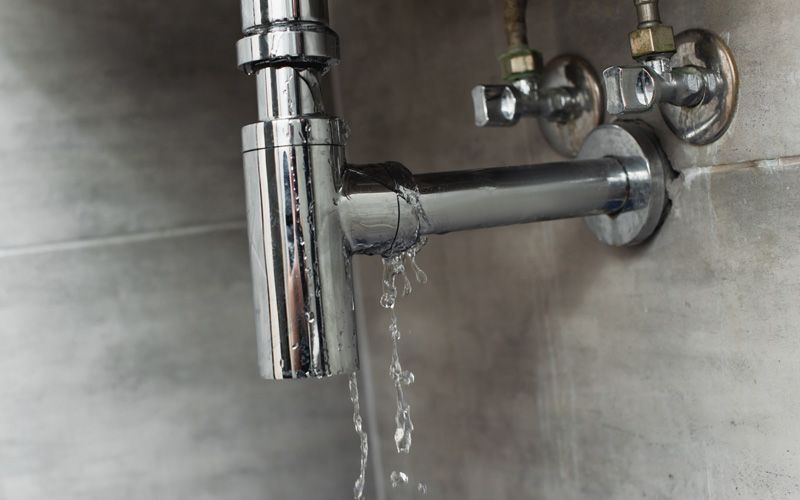
A leaky pipe is one of the most common plumbing issues people face. However, very few people know the proper way to go about fixing one. Worse, in a plumbing emergency, every second counts, which can make matters even more stressful if you don’t know what you’re doing.
Cummings Plumbing Heating and Cooling, a plumbing and HVAC company based in Tucson, Arizona, provide their expertise on fixing pipes. The company specializes in repairing and installing all types of units, including plumbing, heating, and cooling systems.
Step One: Turn Off the Water Supply Valve
According to Cummings Plumbing, the very first step in fixing a leaky or burst pipe should be to turn off the water supply valve. Before starting to fix the problem, you first need to ensure that no water is going to spurt out at you, so locating and switching off the supply water valve is a must. If you aren’t sure which water supply valve supplies the water to the specific pipe that is leaking, then it’s best just to shut off the main supply valve for the time being. From there, you can buy yourself some time until a plumber arrives.
Step Two: Clean Up the Mess
Whether you have a minor leak with drops of water slowly seeping out or a sudden burst resulting in a small flood in your kitchen, cleaning up the mess should be the second step in fixing your leaky pipe. Cummings Plumbing Heating and Cooling of Tucson, Arizona, recommends not only cleaning up the bottom of the cabinet where the water might be concentrated, but also the leaky pipe itself and any surrounding fixtures. Further, you’ll want to mop up the floor if any water has spread there and clear out the cabinet and surrounding areas where your plumber will have to work.
Step Three: Assess and Smooth Out the Leaky Pipe
Now that the area is clean, it’s time to prepare your leaky pipe for your temporary patch. Before you patch up a leaky pipe, you must take time to assess and properly prepare the area for the patch. This includes checking to make sure there is no rust, limescale, or rough edges on the surface of the pipe, as well as using sandpaper to smooth out any build up on the pipe. This will not only be good for your pipes in the long term, but it will make your temporary patch more effective and give it a better chance of holding up against water flow, should you need to turn your water back on before a plumber can fix it.
Step Four: Seal the Leak Via a Temporary Patch
The fourth and final step regarding what to do with a leaky pipe is to seal the leak using a temporary patch. If you don’t have time to wait for a plumber and want to take matters into your own hands, Cummings Plumbing of Tucson, Arizona, recommends temporarily sealing the pipes by using plumber’s epoxy, available at most local hardware stores. All you need to do before applying it to your pipe is to mix it according to the manufacturer’s instructions.
Remember to mold the silly putty-like epoxy to fit the gap in your pipe exactly. Then, smooth out the edges and let it dry for however long as the instructions dictate. Applying this seal or patch is a great way to fix the problem temporarily; however, it isn’t a long term solution. While doing the proper research, including reading articles like these, can help you temporarily fix a leaky pipe on your own, it is possible to make things worse if you don’t know what you’re doing. Thus, if you’re ever unsure of your DIY plumbing skills, it is highly recommended that you call a professional.
Other Blogs You May Be Interested In




Leave a Reply