Emergency Response: Dealing with Burst Pipes
TL;DR: Burst pipes can cause extensive damage to your home if not addressed quickly. Common causes include freezing temperatures, corrosion, and high water pressure. Signs of a burst pipe include water bill spikes, water spots, loss of water pressure, and strange noises. In the event of a burst pipe, shut off the water supply, drain faucets, and turn off electricity near the affected area. Afterward, assess and clean up the damage, but be sure to call professional plumbers like Rootin Tootin Rooter in Tucson, AZ, to fix the issue properly and prevent further damage.
When you own a home, you’re signing up for never-ending maintenance tasks, and among these, burst pipes present a particularly sneaky challenge. They often fly under the radar until the damage is too severe to ignore. Surprisingly, this issue isn’t rare. About 14,000 people in the US deal with burst pipes and the aftermath every year.
The damage from such an incident can lead to structural issues, mold growth, and ruined belongings, making quick action essential.
Responding swiftly to a burst pipe mitigates the potential for long-term damage to your home. Water can be incredibly destructive, seeping into the nooks and crannies of your house, weakening structures, and encouraging mold and mildew growth. All these require an emergency response. Dealing with burst pipes must be swift and immediate.
Immediately responding to a burst pipe reduces the risk of extensive damage. Quick action can stop the situation from escalating, potentially saving you thousands in repairs and restoration. Let’s see why knowing how to handle a burst pipe effectively is a crucial skill for homeowners.
Why Pipes Burst?
You probably don’t give much thought to the pipes hidden within your walls. Yet, when a pipe bursts, it suddenly becomes your only priority. Many factors contribute to this unfortunate event, but the most common culprits include freezing temperatures, corrosion due to age, and high water pressure.
Understanding these can help prevent future occurrences and foster a quicker emergency response. Dealing with burst pipes becomes less of a panic-inducing situation and more of a manageable task.
- Freezing temperatures: During the winter, water inside your pipes can freeze. Freezing water expands, putting immense pressure on the pipes from the inside. This can crack or burst the pipes entirely, leading to significant water damage. But even the piper running through unheated areas of your home can freeze under specific conditions. Keeping your home adequately heated and insulating your pipes are good practices to prevent this issue.
- Corrosion and age: Over time, pipes, especially those made from metal, can corrode due to chemical reactions between the water and the pipe material. This makes pipes weaker and more susceptible to developing leaks or bursting.
- High water pressure: While strong water pressure might be pleasant for showers, it can strain your plumbing system. Sudden or constant high pressure can lead to failure in weak points along your plumbing system, resulting in a burst pipe. Installing a pressure regulator can help maintain your home’s safe water pressure level.
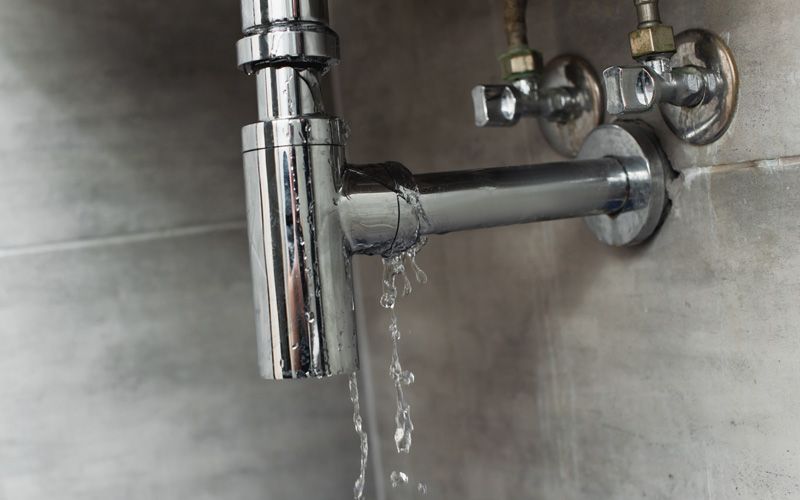
Recognizing the Signs of a Burst Pipe
A burst pipe isn’t always a dramatic event with water gushing out from under your kitchen sink. More often than not, the signs are subtle, and catching them early requires you to pay close attention to your home’s plumbing health. Some of the first indicators can be:
- Unexplained water bill spikes: If your water usage habits stay the same, but you notice higher water bills, it might be time to inspect your pipes for leaks.
- Water spots on walls or ceilings: These marks, often discolored spots or peeling paint, suggest water is accumulating in areas where it shouldn’t.
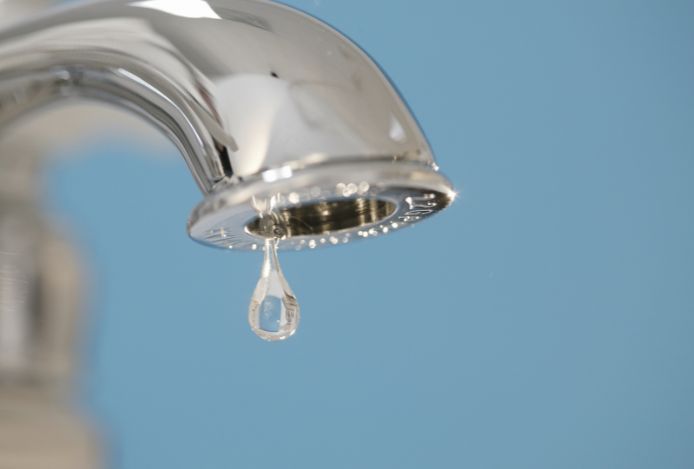
- Loss of water pressure: If your shower starts feeling more like a drizzle than a downpour, the issue can be a burst pipe. If the change in pressure is sudden and affects more than one outlet, immediate action is necessary.
- Sudden noises within plumbing: Sounds such as banging, whistling, or dripping indicate something isn’t right. These noises could mean water is escaping from a crack in the pipes.
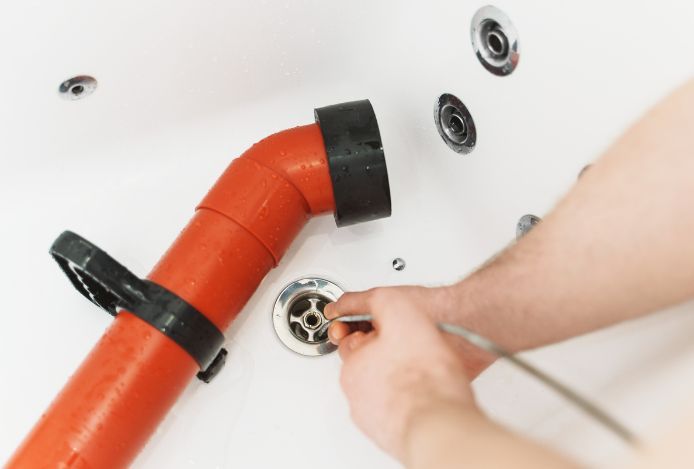
Immediate Steps to Take
Discovering a burst pipe can ruin your entire day and all your plans. But don’t panic – you can take a few steps to prevent significant water damage. You must act fast and follow these instructions carefully. Your quick response could significantly reduce the extent of the damage to your home.
Shut Off the Water Supply
The main water valve is in the basement, garage, or front of the house. To turn the water supply off, rotate the valve clockwise until it stops moving. This action will halt water from flowing into your home, preventing further flooding. Knowing the exact location of your shut-off valve before an emergency arises is a smart preparation step, so if you’re unsure, now is a good time to locate it.
Drain the Faucets
After you’ve shut off the main water supply, open all cold water taps to drain the remaining water from the pipes. This step helps to relieve any built-up pressure inside the pipes, reducing the chance of additional pipe bursts. Once no more water comes out of the cold taps, do the same for the hot water taps. This process also helps empty the water heater, which is also under pressure.
Turn Off Electricity
If the burst pipe is near electrical appliances or outlets, immediately turn off the electricity at the main breaker. This can prevent electrical shocks. Before you handle the electrical panel or any appliances, dry your hands and stand on a dry surface.
Damage Control and Cleanup
Once you’ve identified the presence of a burst pipe, your next step is to examine the affected area. You need to understand how much damage the water has caused. This involves checking your furniture, electronics, and other items that might have gotten soaked. Water can cause floors to become slippery, seep into electrical appliances, and pose a risk of electric shock.
Moving on to the cleanup process, the first task on your list should be to remove any standing water. You can use buckets, towels, or a wet-dry vacuum if you have one. After removing the excess water, let the area dry out thoroughly. Use fans, dehumidifiers, and open windows to speed up drying.
While you do this, start assessing what items you can save. Some things need to be dried out, but others, particularly those made of porous materials, might be beyond saving if they absorb too much water. This part of the process requires patience and a careful hand, as rushing can lead to more damage or even harm to yourself.
Professional Plumbing Assistance
Homeowners must know what to do during a burst pipe emergency, but it’s essential that you also call a professional to help you fix the issue. Professionals have a wealth of experience and the tools to fix the burst pipe and check for other potential issues that could lead to future problems. Their expertise ensures that the repair is thorough and reduces the risk of the same issue happening again.
More than just fixing the pipe, they can help repair any damage caused by the water, preventing mold growth and structural damage that could put your home at risk. Hiring a professional plumber addresses the immediate problem and helps maintain your home’s safety and value.
Find Plumbing Experts in Tucson, AZ
If you have plumbing problems, you should know what to do as an emergency response. Dealing with burst pipes requires quick action and the work of professionals specializing in this area. When you notice a burst pipe, shutting off your water supply and calling for expert help are your best moves. This approach helps control the damage and sets the stage for a more efficient repair process.
If you live in Tucson, Arizona, Rootin Tootin Rooter is here to help you with your plumbing emergency and prevent burst pipes. Our team can come over and fix your burst pipes at any time of day. We will take care of the issue and restore water in your house as fast as possible.
If your pipes are giving you headaches, call today and have peace of mind tomorrow!